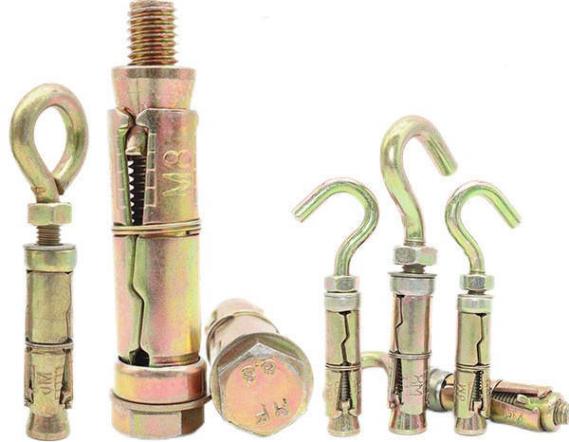
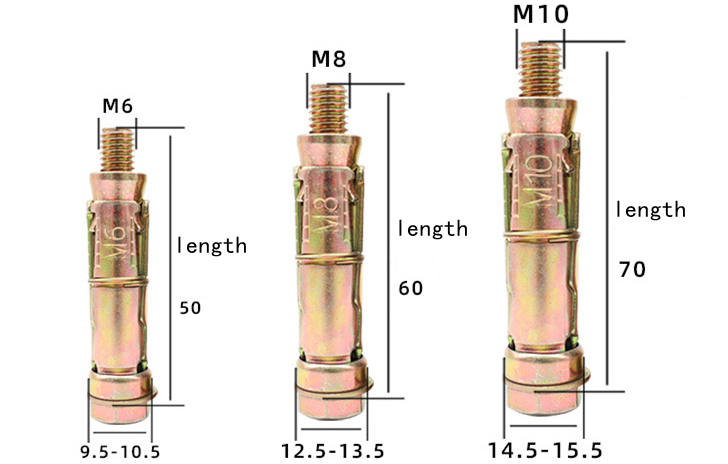
Anchor bolts are indispensable fasteners used to secure items to concrete, masonry, or other structural materials, ensuring structural integrity and safety in various construction, engineering, and industrial applications. In this article, we'll delve into the essential steps of anchor bolt installation, focusing on pre-installation preparation, drilling, placement, and securing.

Pre-Installation Preparation:
Before installing anchor bolts, several preparatory steps are crucial:
Determine Anchor Bolt Requirements: Consult building plans or engineering drawings to identify the type and size of anchor bolts needed, considering load capacity, environmental factors, and material compatibility.
Select Materials and Equipment: Choose anchor bolts made of suitable materials like carbon steel, stainless steel, or galvanized steel, ensuring adequate strength and corrosion resistance. Gather essential tools and equipment, including drills, torque wrenches, washers, nuts, and safety gear.
Review Construction Plans: Familiarize yourself with construction plans or specifications detailing anchor bolt placement and installation requirements, ensuring compliance with design criteria.
Marking and Layout: Accurately mark anchor bolt positions on the construction site using precise measurements and layout tools. Pay attention to specified hole sizes, depths, and spacing.
Obtain Approvals and Safety Gear: Obtain necessary approvals or permits before installation and ensure compliance with safety regulations. Wear appropriate personal protective equipment (PPE) such as safety glasses, gloves, and hard hats.
Drilling Process:
Drilling precise holes is crucial for proper anchor bolt installation:
Gather Equipment: Assemble drilling equipment including drills, appropriate drill bits, and safety gear.
Select Drill Bit: Choose a drill bit matching the diameter and type of anchor bolts. Ensure it's designed for drilling into concrete or masonry.
Prepare Drill and Mark Depth: Secure the drill bit in the chuck and set the drill to the correct mode. Mark the desired drilling depth on the bit using tape or a permanent marker.

Safety Precautions: Wear PPE and use dust masks or respirators to protect against airborne particles.
Start Drilling: Drill perpendicular to the surface at marked anchor bolt positions, applying consistent pressure and speed. Clear debris periodically and monitor drilling depth.
Repeat for Additional Holes: Repeat the drilling process for each anchor bolt location, ensuring uniform depth and precision.
Placements During Installation:
Proper placement ensures accurate alignment and stability:
Prepare Anchor Bolts: Ensure anchor bolts are clean and free of debris, removing any protective caps or coatings.
Insert Anchor Bolts: Carefully insert each anchor bolt into its corresponding drilled hole, applying downward pressure for secure placement.
Verify Alignment: Check bolt alignment and use a level or plumb line for vertical positioning. Readjust if necessary to ensure proper alignment and depth.
Clean Surrounding Area: Remove debris around anchor bolts for a secure fit, ensuring no obstructions hinder installation.
Securing the Anchor Bolts:
Securely fasten anchor bolts to ensure stability and load-bearing capacity:
Place Washers and Nuts: Position washers on anchor bolts and hand-tighten nuts, ensuring proper alignment.
Use Torque Wrench: Use a torque wrench to tighten nuts to the specified torque value, gradually increasing torque in a cross-pattern tightening sequence.
Recheck Alignment: Double-check bolt alignment after tightening to confirm proper placement and make adjustments if needed.
Final Torque Check: Perform a final torque check to ensure uniform tightening and secure attachment. Trim excess bolt length if necessary.
By following these essential procedures, you can ensure successful anchor bolt installation, contributing to structural stability, safety, and durability for your project.


Share this page with your family and friends.