
Posted by - Shawn Murphy -
on - 9 hours ago -
Filed in - Technology -
0 Views - 0 Comments - 0 Likes - 0 Reviews
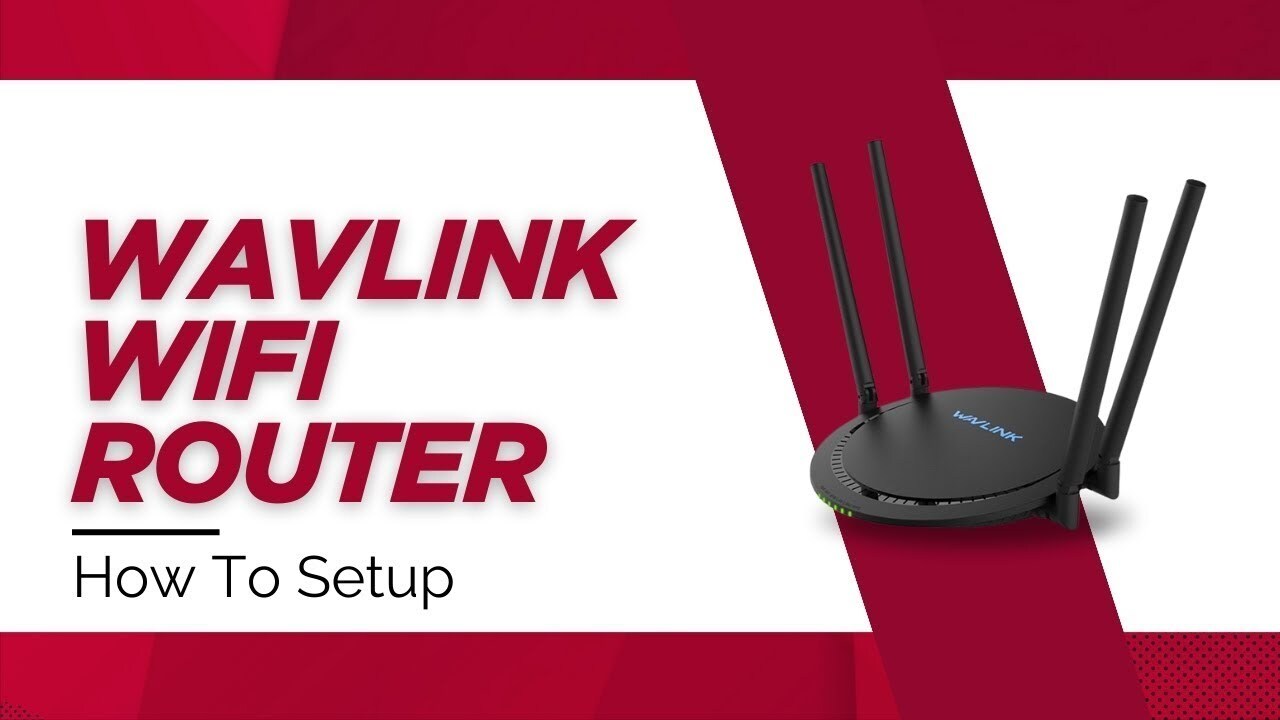
Setting up a wavlink router especially if you are doing it for the first time then it seems to be very complicated. But actually it's not, with the right way, you can fluently complete the process without important hassle. Wavlink routers are popular because they give high speed internet connectivity, easy to use interfaces, and advanced features suitable for both homes and small businesses. In this companion, you will go through the entire Wavlink router setup process step by step so that indeed new users can complete it easily.
Here are the steps you have to follow to complete the wavlink router setup without any hassel:
Unboxing the wavlink router is the initial step of the wavlink router setup process. You have to check whether the box contains everything you need or not.
Launch by unboxing your Wavlink router and connecting it to a power source using the handed appendage. Once plugged in, stay for the router to power on. You'll notice the LED pointers turning on, showing that the device is active.
Next step of the wavlink router setup process is linking the router to your modem. Use an Ethernet string to link the modem to the WAN harborage on your Wavlink router. After this, you can connect your computer or laptop directly to the router using another Ethernet string for original setup. Alternatively, also link the router’s default WiFi network. Default network information is specified on the device label sticked on its back or bottom side.
Once you're connected, open a web cybersurfer on your device. In the address bar, type 192.168.10.1, which is the default IP address for utmost Wavlink routers. Press Enter, and you'll be directed to the Wavlink setup runner. Then, you may be asked to log in. Enter the default username and word, generally “ admin ” for both fields, unless stated elsewhere on the device marker.
After logging in, you'll reach the setup wizard. This wizard will guide you through the introductory configuration of your router.
Select your connection type such as Dynamic IP, stationary IP, or PPPoE. This information can be gathered from your ISP generally.
Enter the username and password, If needed.
Allow the router to apply the configuration by pressing save option.
At this stage, your router will try to connect to the internet. You should see the status change to “Connected” once everything is successful.
Now that your router is connected to the internet, it’s time to customize your WiFi. Go to the wireless settings section on the setup runner.
Choose a network name(SSID) that's easy to honor.
Produce a strong word to cover your WiFi from unauthorized access.
Select the security mode( WPA2 is recommended for better protection).
Save the changes.
Your bias can now connect to the new WiFi network using the SSID and word you just created.
Wavlink router firmware updation is important for security and smooth working. Check the firmware update section in the router’s admin interface. Download and install the firmware in case an update is available. This won't only enhance security but also fix bugs and ameliorate stability.
After completing all the configurations, renew your router. Once it reboots, connect your smartphone, laptop, or any device to the WiFi and test the internet connection. Try browsing many websites or streaming videos to confirm that your internet is working properly.
In case you encounter any trouble while performing wavlink router Setup or even after like no internet, slow network speed, unable to access wavlink router setup page or other then these tips will help:
Verification of the internet from the source device will be the first step to resolve the issue. In case the issue is from the source device then you need to connect the ISP.
Next check the placement of the device, if any network interfacing device is kept close to the wavlink router then eliminate it. Either changing the location of the wavlink router or the device creates a hurdle.
Thereafter check for the damage in the hardware connection.
Verify that the computer/ laptop is connected to the wavlink router network you are using to access the setup page.
After that try rebooting the router by turning the power off.
Next you have to check for the firmware update. In case of pending updates, the wavlink router will not work properly. Do the required and end the process with rebooting.
Lastly you can try factory resetting. The factory resetting process will restore the default setting of the device and then you have to configure it again.
If yet the issue is not resolved then you should connect technical experts.
Our Mission... “To assist disaster survivors by providing a source for them to come together in time of need, to aid in the listing of events, information and other forms of assistance, and continuing support through the recovery process.”


Share this page with your family and friends.