We use cookies to personalise site content, social media features and to analyse our traffic. We also share information about your use of this site with our advertising and social media partners.
About Me
 Home Services
 Find expert home services for safe and efficient dryer vent hose installation, repair, and replacement. Improve airflow, reduce fire risks, and keep your laundry system running at its best.
Posted by - Home Services -
on - Sep 24 -
Filed in - Business -
Dryer Vent Hose Installation -
91 Views - 0 Comments - 0 Likes - 0 Reviews
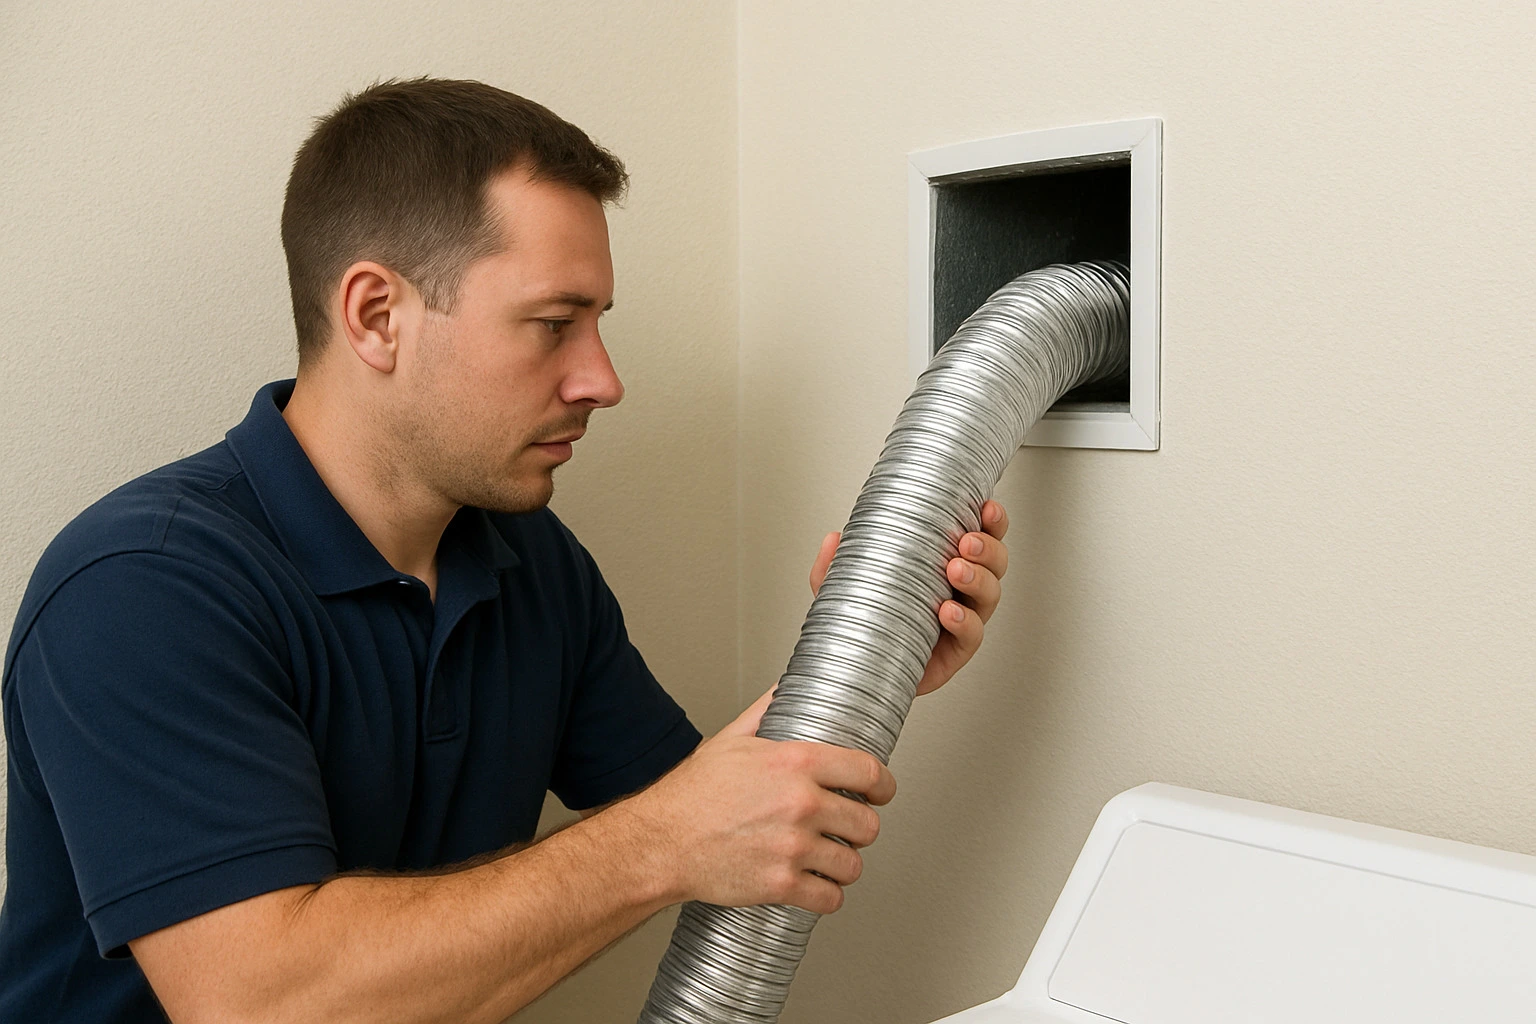
Dryer vent hose installation is one of the most important steps in maintaining a safe and efficient laundry setup. A properly installed vent hose ensures hot air, lint, and moisture are directed safely from the dryer through a duct and outside the house. Without this pathway, exhaust can build up inside walls or vents, causing clothes to dry slowly, the machine to overwork, and fire risks to increase. Whether you use a flexible vent hose, a rigid vent pipe, or a venting kit with a hood cover, correct installation protects both the dryer and the home. This is why professionals always stress the importance of dryer vent hose installation.
When vent hoses, connectors, or pipes are damaged, clogged, or poorly installed, airflow is blocked. Exhaust trapped inside the venting system can overheat, making lint more likely to ignite. Clothes may stay damp even after a full cycle, energy costs rise, and exhaust air may leak into the laundry room or inside walls. For gas dryers, poor venting can even allow harmful fumes into the house. If a vent hose is torn, crushed behind the dryer, or disconnected from the wall or floor vent, repair or replacement is the only safe solution. A proper vent connection using clamps, foil tape, and the right size hose (usually 4-inch) ensures air can move freely outside.
To install a dryer vent hose, first select the correct size pipe or flexible tube most dryers require a 4-inch vent. A typical installation kit includes a vent hose, clamps, and an exterior vent hood or box. Begin by connecting the hose to the dryer’s exhaust outlet, securing it with a clamp or connector. Next, attach the other end to the wall, floor, or roof vent. Use foil tape instead of standard duct tape for sealing joints because it withstands high temperatures. When possible, use rigid metal vent pipes rather than flexible hoses, as they allow better airflow and reduce lint accumulation. Always check that the exterior hood or cover can open freely to release exhaust.
Dryer vent pipe installation often requires rigid or semi-rigid metal tubes cut to fit the path from the dryer to the exterior wall or roof. Pipes may include elbows for turns, connectors for sections, and clamps to hold everything together. For multi-floor houses, venting may run through walls or ceilings, requiring more advanced installation. A vent hood or box outside the house prevents animals, debris, and rain from entering while allowing exhaust to escape. Lowe’s and similar stores sell kits with hoses, clamps, and venting connectors, but for complex setups, hiring a contractor is recommended to ensure proper venting and code compliance.
The best dryer vent setup minimizes bends, keeps the hose as short as possible, and uses rigid venting where space allows. Flexible hoses can be used when dryers are installed close to walls, but rigid ducts improve air movement and last longer. Every connection whether behind the dryer, along the wall, or through the roof should be sealed with foil tape and secured with clamps. The exterior hood or box must have a proper cover that opens with airflow and closes when not in use. A vent setup designed this way reduces lint buildup, improves drying times, and prevents overheating.
Common tools and parts for dryer vent installation include: a venting kit, rigid or flexible duct pipe, clamps, connectors, and foil tape. If installing through a wall, you may need a hole saw to cut the right size opening. For roof installations, a weatherproof hood is required. Venting tubes come in different materials, such as rigid aluminum, semi-rigid metal, or flexible plastic, but rigid is preferred for safety. Clamps secure the hose to both the dryer exhaust outlet and the wall vent, while foil tape ensures no air leaks. In addition, an exterior hood or box should include a flap cover to keep pests and debris out.
|
Service/Item |
Estimated Cost (USD) |
|
DIY vent hose kit (hose, clamps, hood) |
$20 – $50 |
|
Professional dryer vent hose replacement |
$100 – $200 |
|
Full dryer vent pipe installation (complex routing) |
$200 – $500 |
|
Dryer vent cleaning service (recommended annually) |
$80 – $150 |
Disclaimer: Costs vary based on location, materials, type of dryer (electric or gas), and whether venting runs through walls, floors, or roofs.
A proper dryer vent setup includes:
A 4-inch rigid or semi-rigid vent pipe or flexible vent hose where needed
Secure clamps and connectors at all joints
Foil tape (not duct tape) for sealing air leaks
An exterior hood or vent box with a flap cover
Minimal bends and the shortest possible venting path
Correct installation for either gas or electric dryers
These features ensure exhaust air exits the house safely, clothes dry efficiently, and risks of lint fires are minimized. As one HVAC professional put it: “A dryer vent is more than just a hose it’s a safety system that protects your home when installed the right way.”
How often should dryer vent hoses be replaced?
Every 5–7 years, or sooner if there are cracks, leaks, or clogs.
Can I use flexible venting tubes?
Yes, but rigid pipes are safer and more efficient. Flexible hoses should only be used in short connections where rigid ducts won’t fit.
Is dryer vent cleaning part of installation?
Cleaning is not part of installation but should be done annually to maintain airflow.
Can a dryer vent go through the roof?
Yes, but it requires a proper hood and weatherproof cover. Professional installation is recommended.
Does installation cost much?
DIY is affordable with kits under $50, but complex installations through walls or multi-story houses can cost several hundred dollars.
Dryer vent hose installation plays a vital role in preventing lint buildup, improving dryer efficiency, and reducing fire risks. A safe vent setup includes the right size hose or pipe, proper clamps, connectors, and exterior vent covers. Whether you install a new vent hose, replace an old one, or set up a full vent pipe system, following best practices ensures safe airflow from inside to outside the house. With the right parts, tools, and maintenance, your dryer will operate more efficiently, last longer, and keep your laundry area safe from exhaust hazards.
Read More: Dryer Vent Cleaning Houston

“To assist disaster survivors by providing a source for them to come together in time of need, to aid in the listing of events, information and other forms of assistance, and continuing support through the recovery process.”

Share this page with your family and friends.